Hey hey everyone!
Well, it’s been an eventful couple of weeks in my world. I turned a scary age two weeks ago. Nope I’m not telling how old – but let’s just say it’s ALL downhill from here. Somebody bring me more wine.
Also, our hot tub finally arrived!! This was one of the two backyard elements I was really waiting for, and we have used it every night since it got hooked up. I may be old but at least I’m gonna enjoy it in style. 😉
Today’s post is yet another top! Are you guys sick of tops yet? Something you should know about me – in case you didn’t already – I tend to get focused (read: obsessed) with things. The good news is that I eventually move on…and I’m happy to say the next few posts are going to be coat related.
I was so happy with the Butterick knit top (I’m wearing it right now) that I decided to stay on the knit top bandwagon. The Renfrew top from Sewaholic is a pattern that I’ve owned for several years, and I made the V-neck version at least two years ago. I loved how it turned out and always planned to make the cowl neck version. So here we are – time for a cowl neck Renfrew with fabric from Darrell Thomas Textiles (where else?).
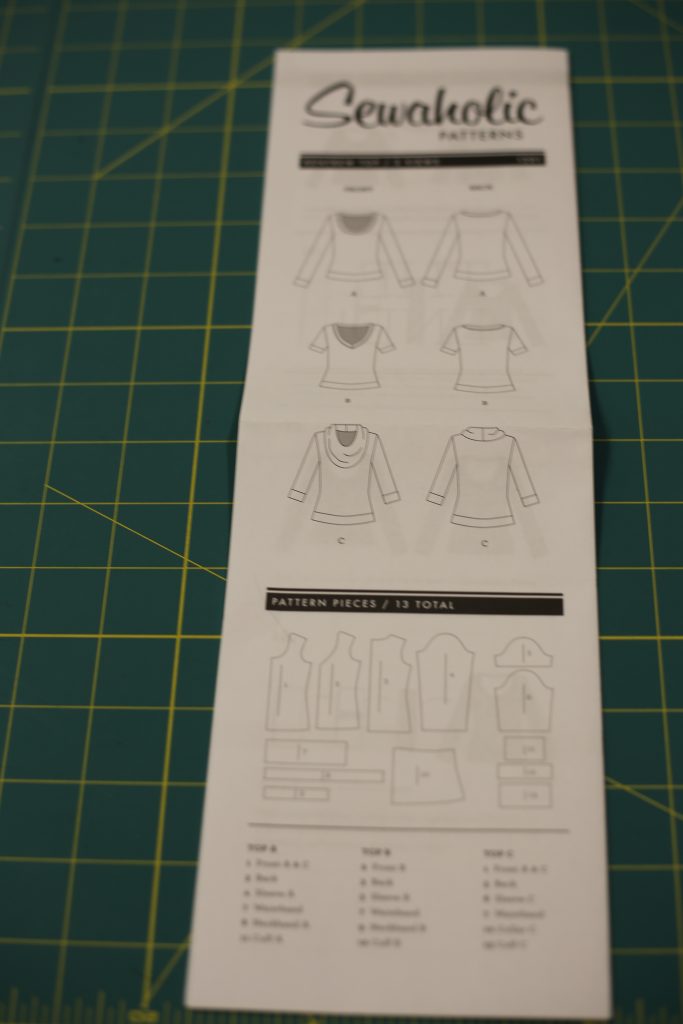
When I made the top the first time I was really happy with the proportions. The back piece is the same for all three versions, so I kept the proportion the same and adjusted the new front piece to the same length. I wasn’t entirely sure what I wanted to do with the sleeves and sleeve hems, so I didn’t cut the cuff pieces.
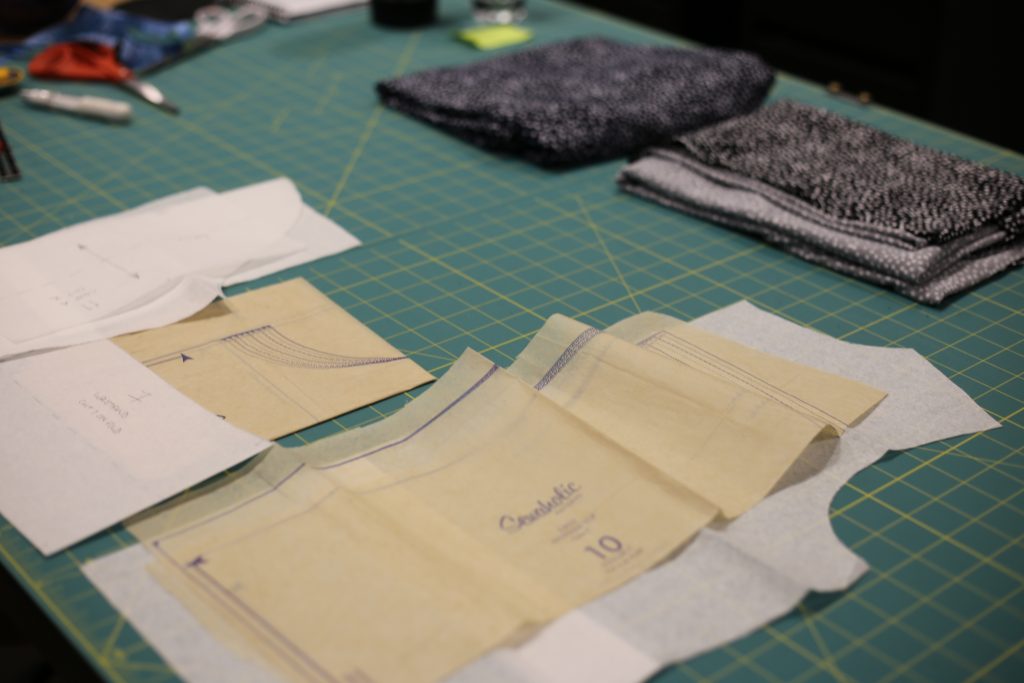
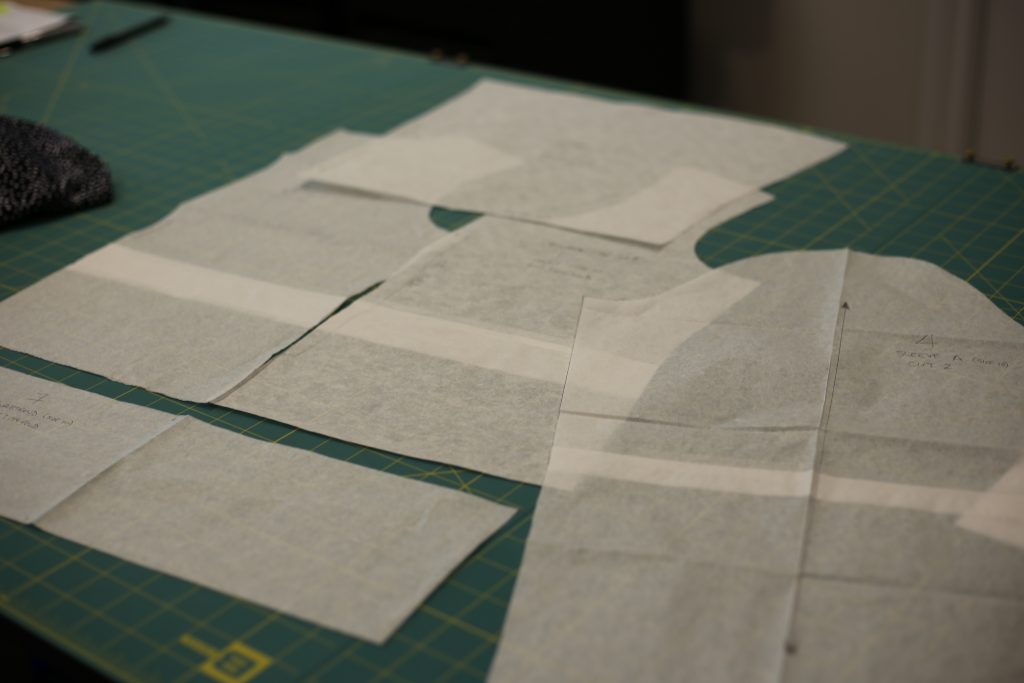

The first step for assembly is the cowl. First you sew the two cowl pieces together on the long side:
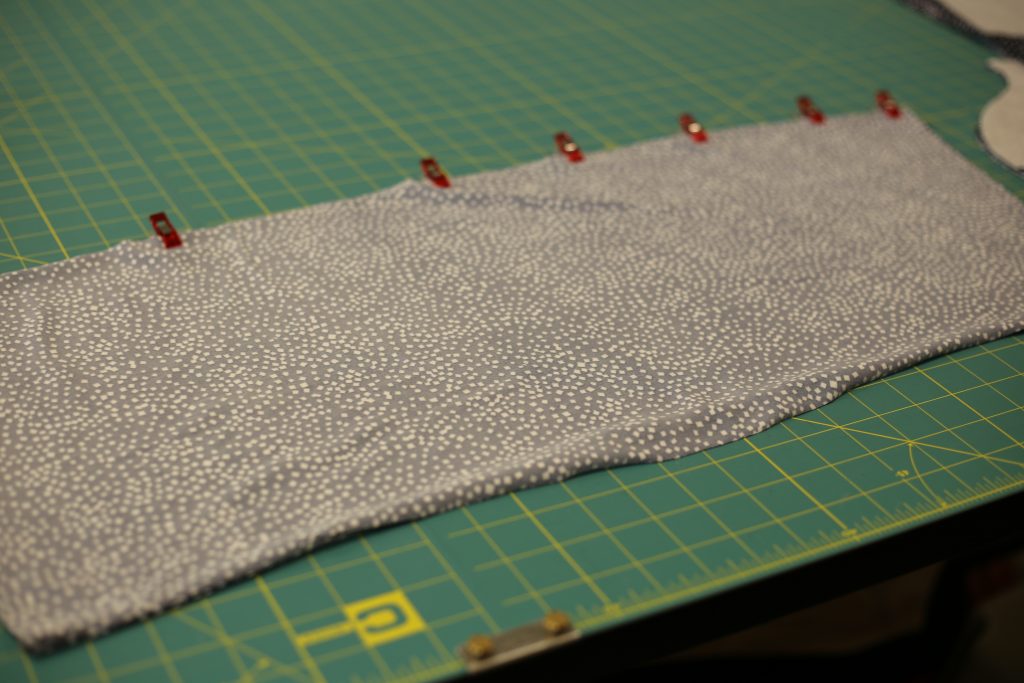
Next you open it up, fold right sides together width-wise and sew that seam (which forms your circle):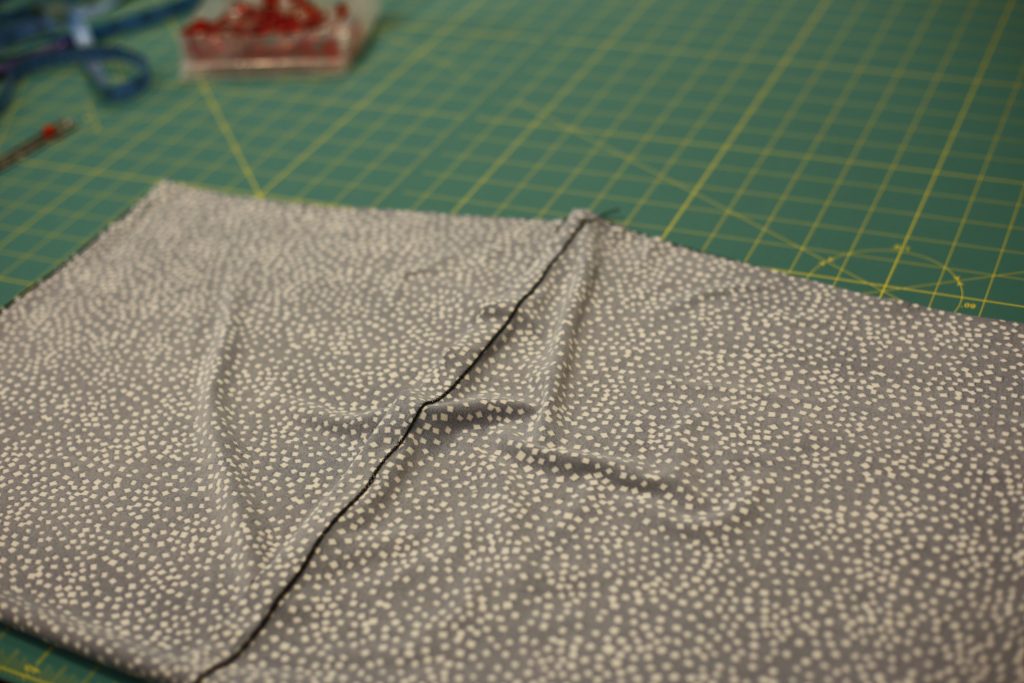
The instructions say to trim the seam allowances, but I didn’t bother as I didn’t see how it would make a difference.
Next, turn the cowl right sides out and put the raw edges together.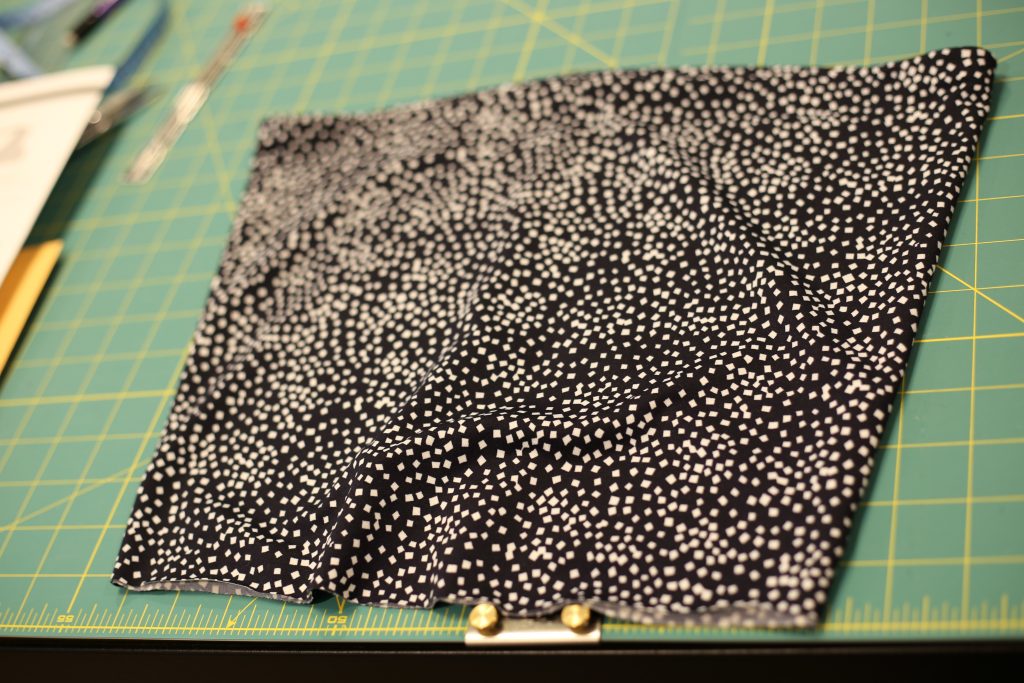
Baste the two layers together (it will make it easier to do the next step!):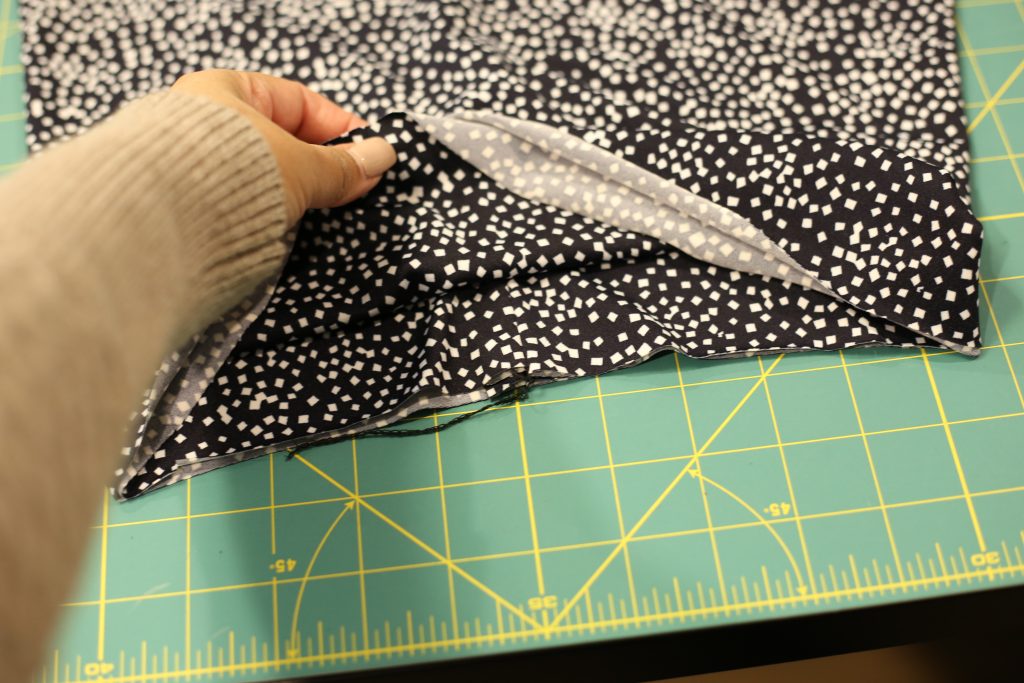
Before you can attach your cowl to your neckline, you need to create a neckline. 😀 Start by taking your top back piece and laying it out wrong side facing up. The pattern instructions recommend (and I agree!) that you should apply twill tape to the shoulders.
Because this top is made of a stretch knit, every seam will stretch over time. The seams you really don’t want stretching are the shoulders and the neckline. Twill tape is made of woven fabric in a twill weave, and it is often made of cotton or polyester although it could be other fibres. Sewing twill tape into your seams will add stability to the seams and prevent stretching over time. Here’s a cost saving tip: instead of using twill tape, you can also use leftover selvedges! As you know, selvedges are finished and are quite stable. I always save selvedges from my fabric scraps, and then I have a variety of coloured “tapes” to use for seam stability. I save silk, cotton, poly and wool selvedges.
You only need to put the twill tape on one side, so I put mine on the back piece:
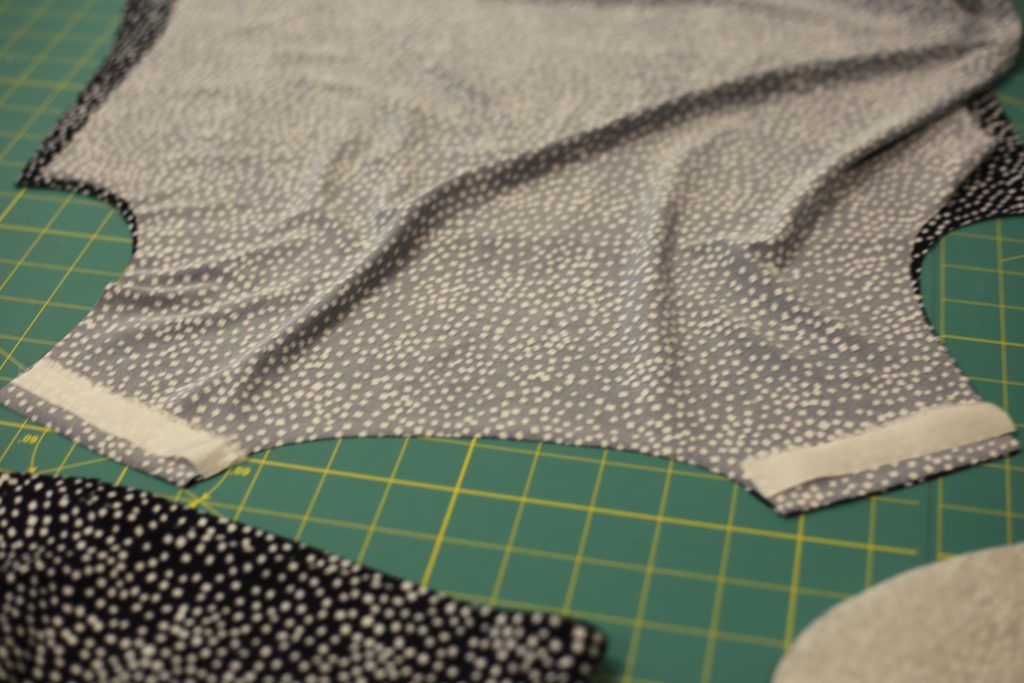
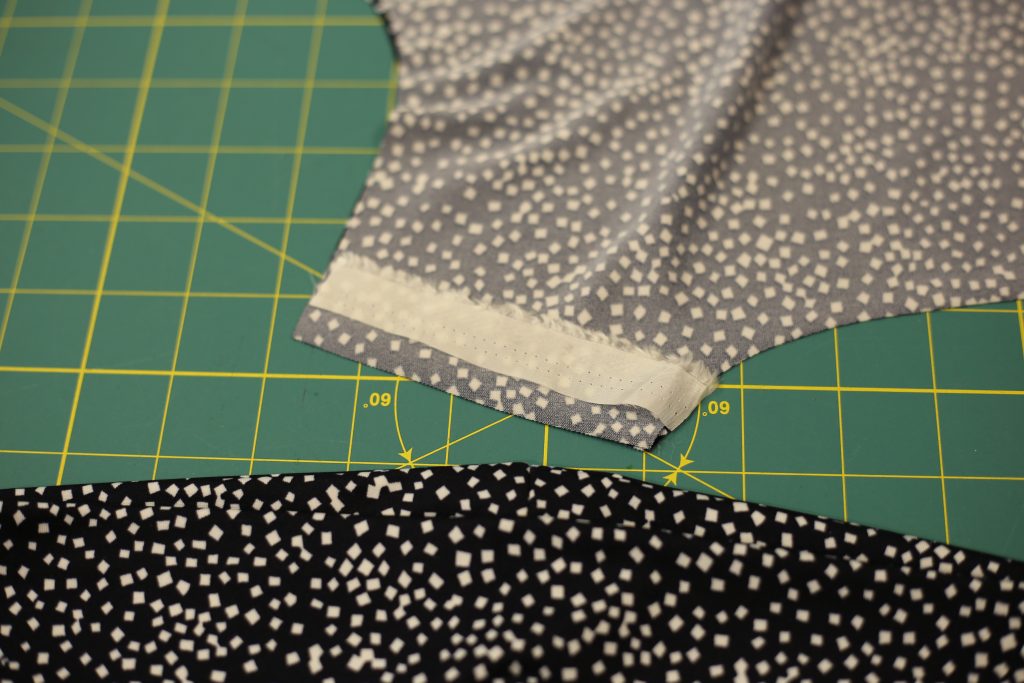
I then sewed the tape to the shoulder pieces at the same seam allowance I will be using for the garment, 5/8″ in this case. Once I attached the tape I then sewed my front to my back, right sides together, using my serger. I could also have used a chain-stitch but I wanted to deal with finishing the edges all in one go!
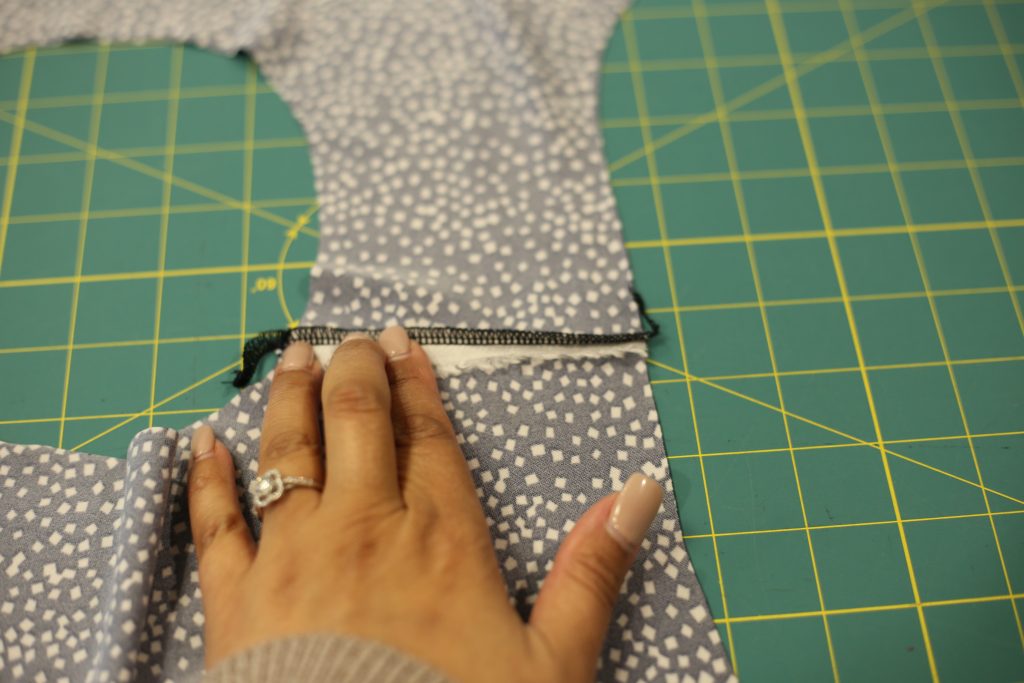
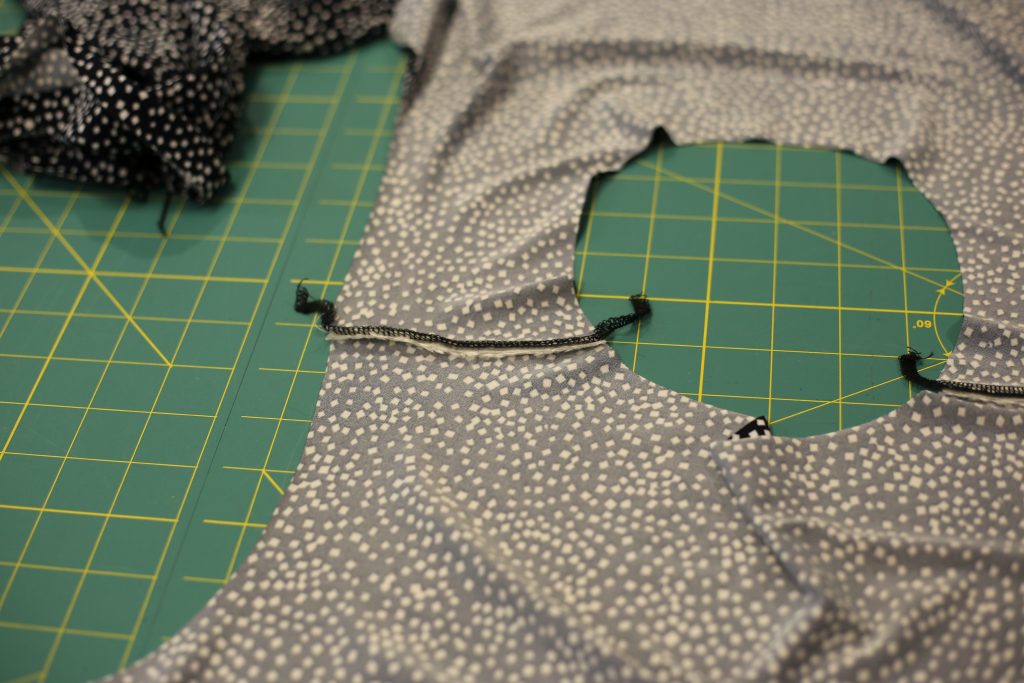
Okay! Now we’re ready to attach the cowl. I used my usual WonderClips to “pin” in place before sewing.
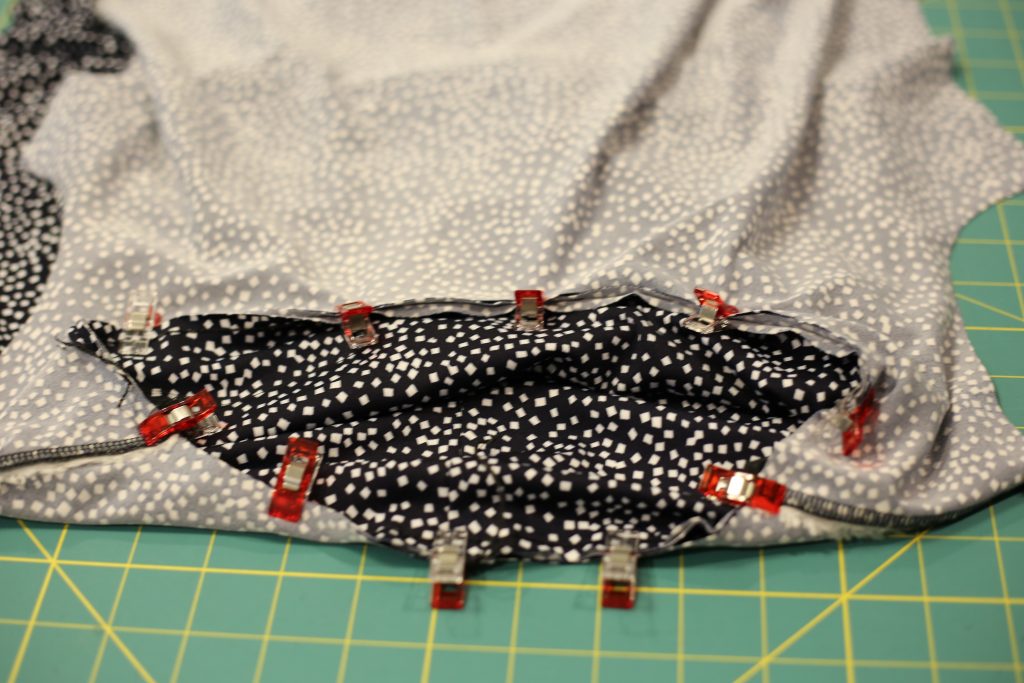
I decided to sew the neckline seam with a chain stitch using my cover-stitch machine. The chain stitch is just slightly stretchy, but not as stretchy as a serged seam. I also didn’t want the bulk of a serged seam at this point, plus I want to leave the seam allowances so I could later sew them down (you’ll see).
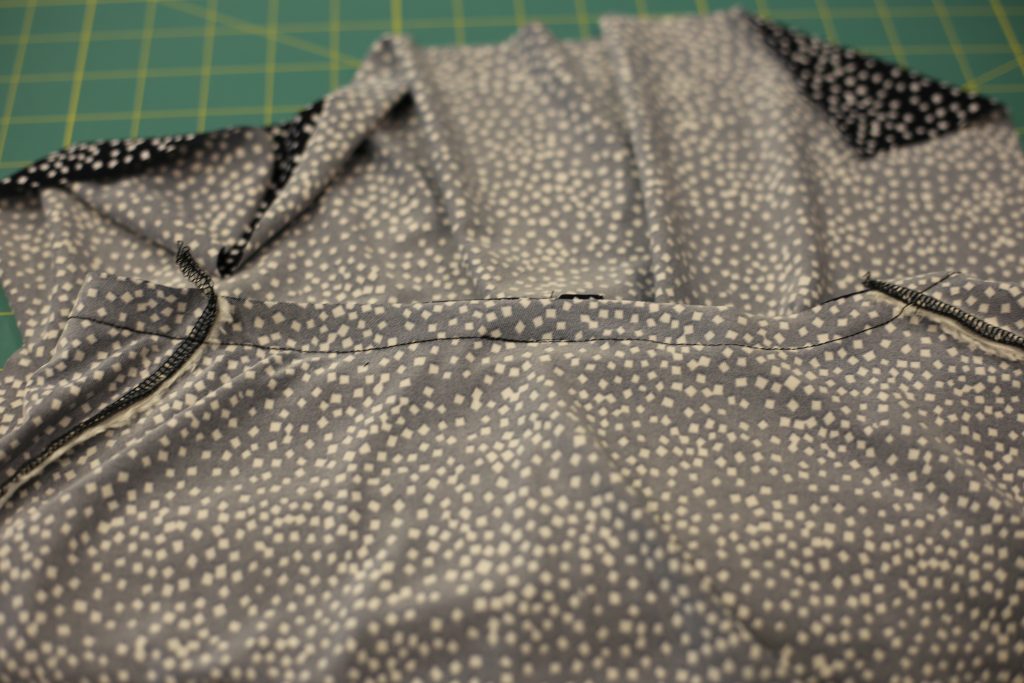
Once you’ve sewn this seam, you need to press the seam allowances towards the body and sew them down. I once again used a chain stitch for this, but you can also use a zig-zag stitch on a regular sewing machine. The chain stitch just looks more professional, but cover-stitch machines are expensive so if you don’t sew a lot of knits it may not be a good investment. Once you’ve sewn down the seam allowances, you can trim them.
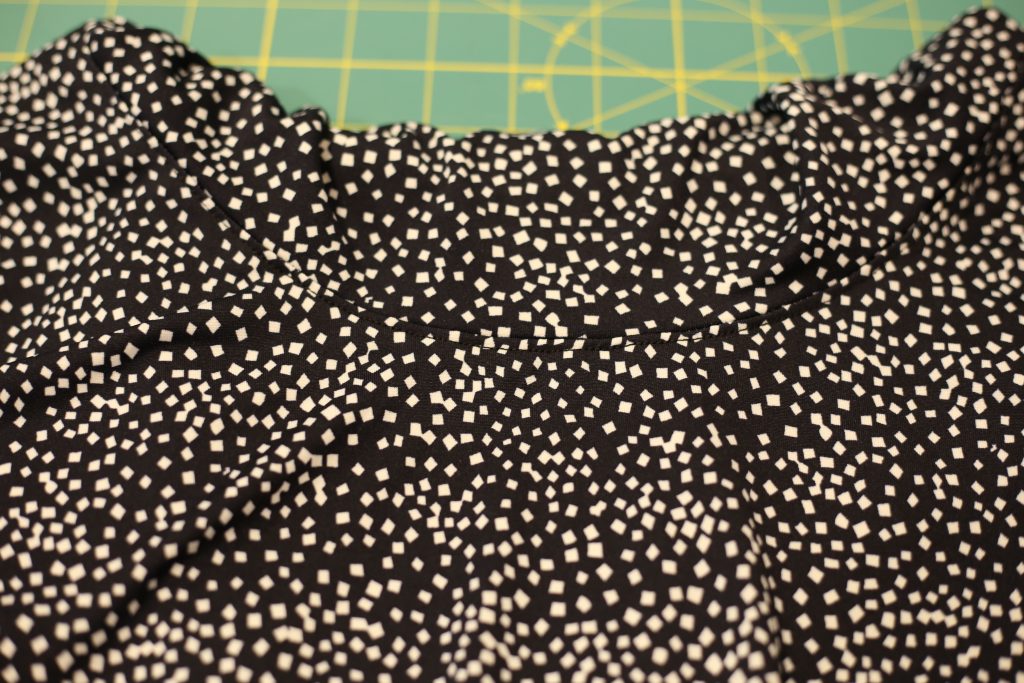
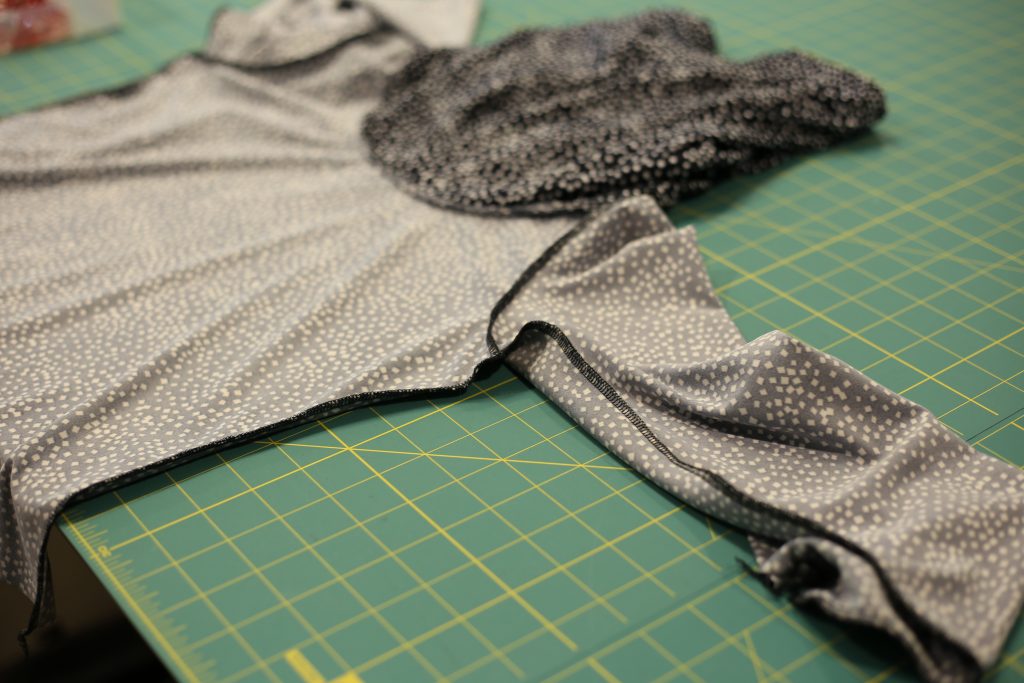
Now that the neck is assembled, we move on to the sleeves. Instead of assembling the sleeves and then setting them in to the armhole, you actually attach the sleeve head to the armhole and then sew the sleeve seam and side seams all in one go. I like this method of assembly, although it might seem more difficult if you are only used to setting in sleeves. Just remember to take your time, and if you are really frustrated go grab a glass of wine, take a break and come back later!
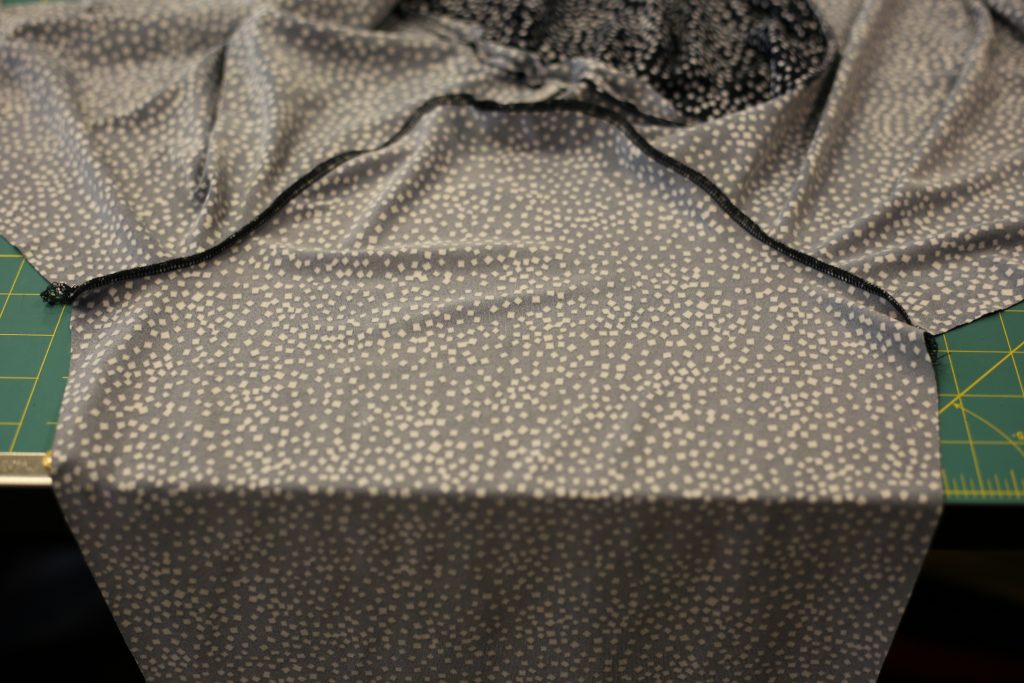
Next, put the top back and front right sides together, fold the sleeve in half right sides together, and sew one continuous seam:
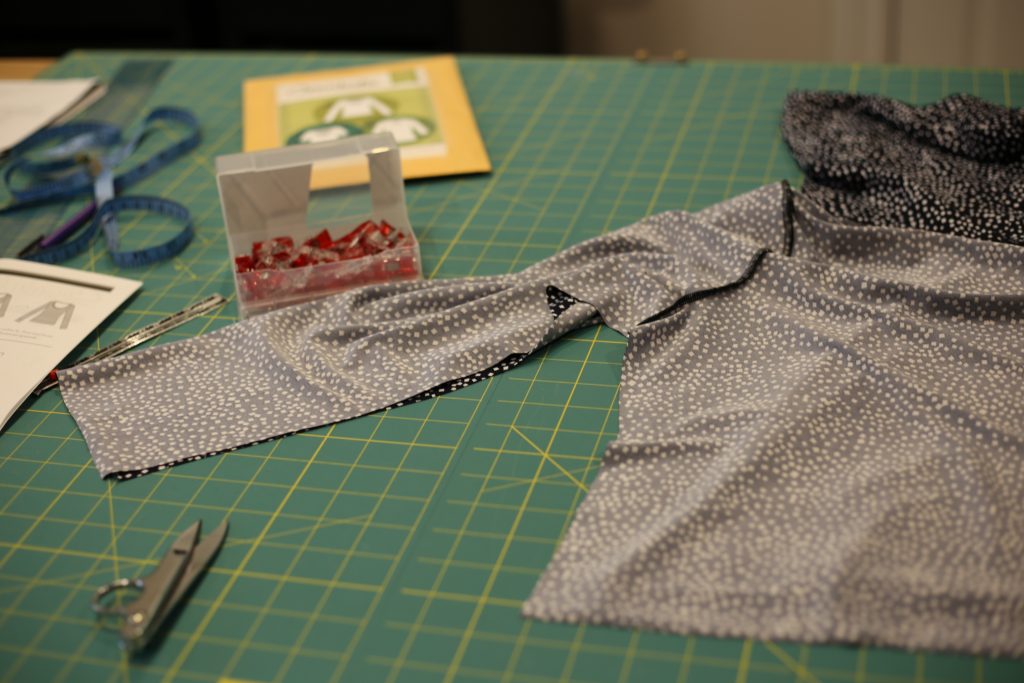
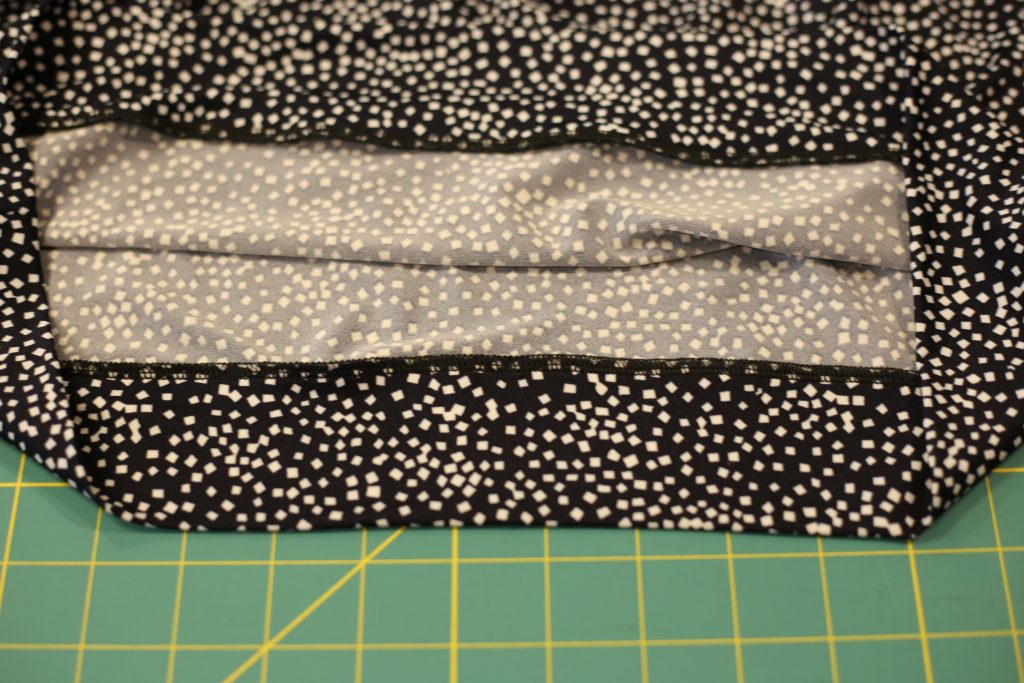
Okay, we are getting there! The second last step is the waistband. I debated leaving off the waistband and just finishing the hem with a chain-stitch, but I thought the waistband would balance out the cowl visually so I left it. First you sew the waistband into a tube, then you fold it in half and press it, and then match it to your lower hem. The waistband is smaller than the top so you have to stretch it a bit to fit, but this gives it some snugness on your body rather than just draping. I sewed this seam by serger as well! So stretchy, so clean, so fast.
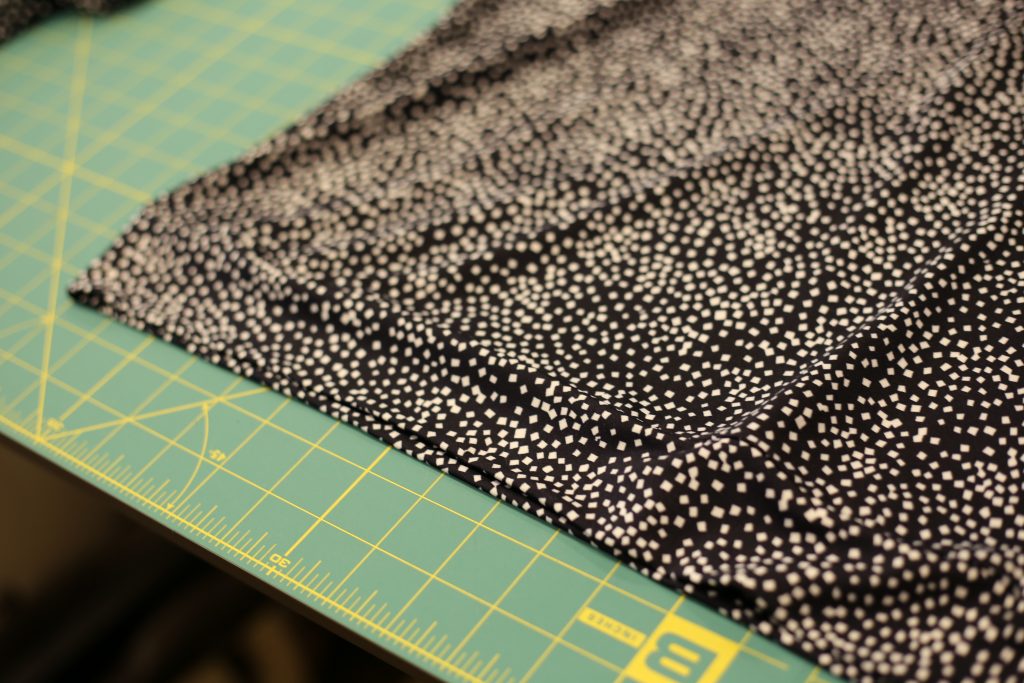
For the sleeves, I made the opposite decision from the waist. I decided not to put on the cuffs because they make the top look more casual, more like a sweatshirt. Instead I turned them up and finished them with a chain-stitch.
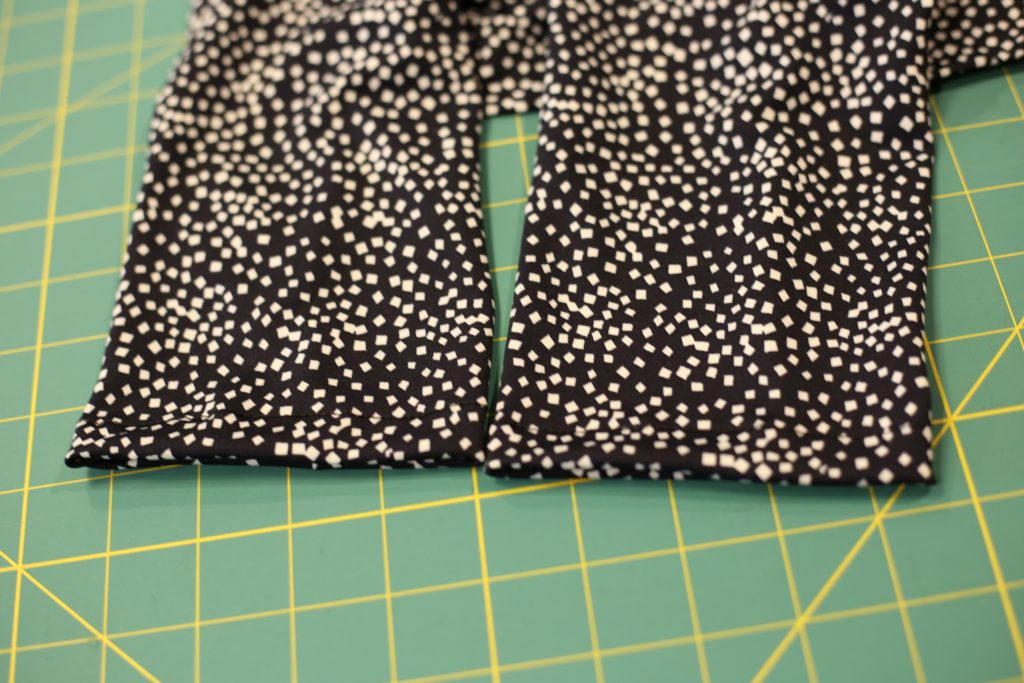
Guys….that’s it! The top is done! This is easily an afternoon project, especially if you already have your pattern pieces cut out and prepped. I’m super pleased with this one and will definitely make more of them!
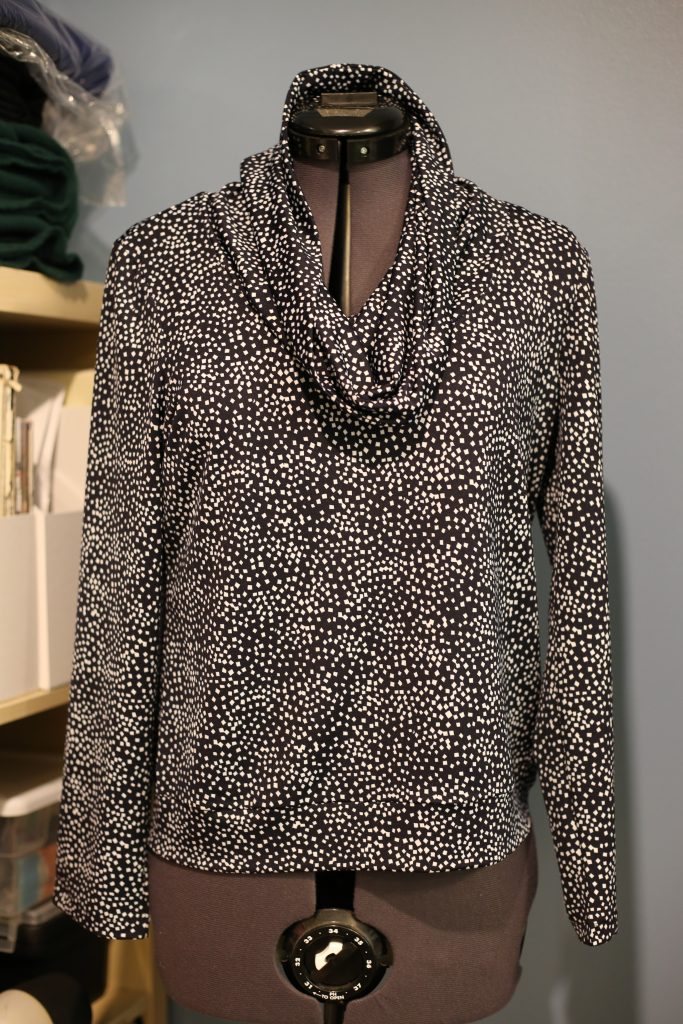
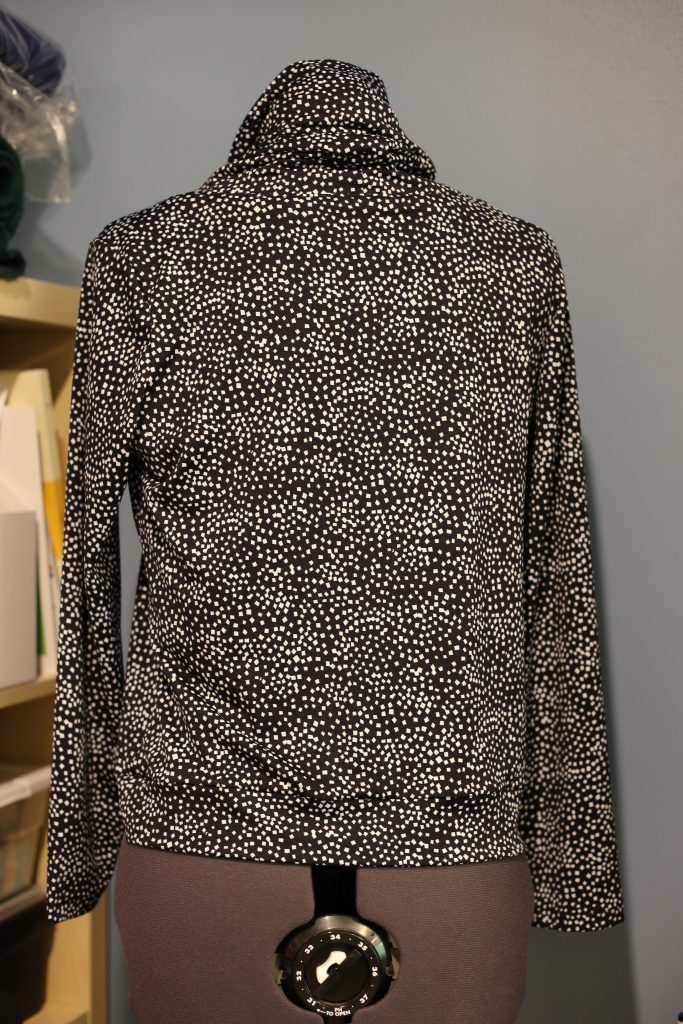
Sorry I don’t have a photo of me actually wearing the top! I’m in San Francisco and didn’t bring my camera with me, and I literally finished the top and threw it in my suitcase 15 minutes before leaving for the airport. 😀 I promise I’ll post one on Instagram when I get home this weekend.
What are you guys working on out there? Any fall coats you want to show off?! I better get cracking with mine before I miss the window and have to jump straight to winter coats. I have SO MANY coats I want to make in the next six months!!!! Stay tuned!
